How to Choose the Right rotary dimmable LED power supply
A rotary dimmable LED power supply wattage chart is an indispensable engineering reference tool used to match the total electrical load of your lighting system with the precise output capacity of a manual driver. Imagine finishing a high-end commercial or residential linear lighting project, only to find the LEDs flickering wildly or the manual knob causing a loud, frustrating hum. When your drivers run hot or buzz continuously under dimming cycles, it creates an unprofessional atmosphere and risks immediate thermal shutdown or system failure. By selecting a high-efficiency rotary dimmable LED power supply and verifying your exact system loads on a professional wattage chart, you can achieve whisper-quiet, flicker-free manual control that stands the test of time.
What Is a Rotary Dimmable LED Power Supply?
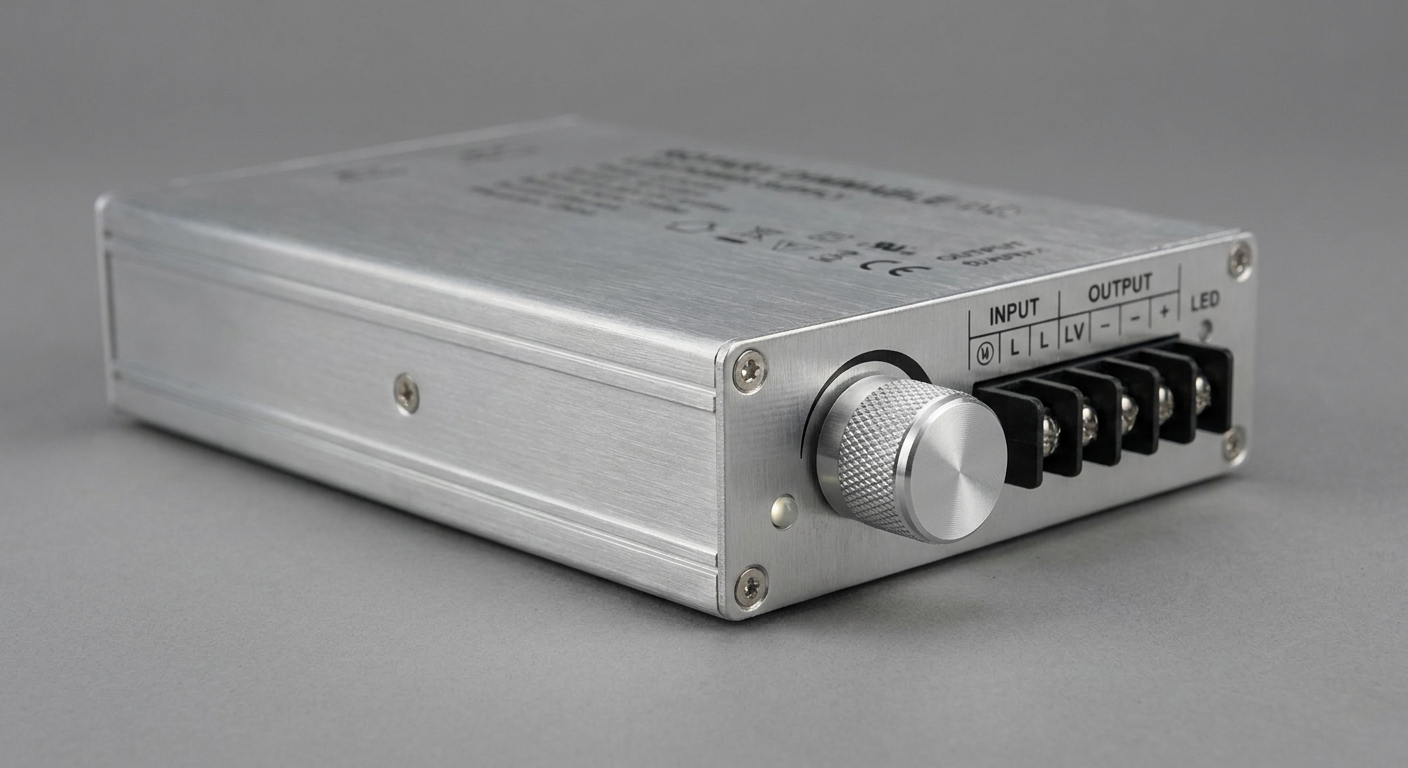
A rotary dimmable LED power supply is a specialized electrical driver that steps down high-voltage AC mains power to a stable DC output while responding directly to a manual potentiometer knob.
A rotary dimmable LED power supply integrates transformer conversion and manual duty-cycle modulation into a single compact housing. You can adjust the brightness of low-voltage LED fixtures by turning a physical dial, providing an immediate tactile response. This component eliminates the need for complex digital protocols or external signal decoders. It is widely preferred for custom conference room displays and architectural accent installations.
Utilizing this type of driver ensures that your control signals are clean and free from electromagnetic interference. You don’t have to worry about wireless drops or software lag when adjusting your brightness levels. The physical dial operates on a direct resistance change to modify the power driver’s output wave. This creates a highly reliable manual lighting control system.
How does manual modulation operate?
Think about it. The rotary knob alters the electrical resistance within the control circuit, which directly instructs the internal PWM chip to adjust its high-speed duty cycle. You get an instant transition from bright task lighting down to soft, warm ambient glow without any visual delay.
Let’s get real:
-
High-Speed PWM: Power cycles thousands of times per second to vary brightness.
-
Resistance Alteration: The physical turn of the knob changes control resistance.
-
Instant Control: Zero communication delay between user action and light reaction.
Look at it this way: standard non-dimming drivers cannot interpret these resistive changes and will simply shut down or strobe if connected to a manual dial. You must use a dedicated driver that is engineered specifically to translate these physical signals into accurate DC voltages. This design prevents component mismatch and secures stable long-term performance.
Here is the deal:
-
Dedicated Circuitry: Translates resistive inputs without signal breakdown.
-
Smooth Dimming: Prevents the sudden drops typical of non-dimming drivers.
-
Extended Lifespan: Protects internal capacitors from rapid voltage fluctuations.
What are the main driver designs?
Why does this matter? You will generally find these specialized manual drivers in either compact desktop enclosures or robust, hardwired metal housings. Choosing between these physical footprints depends entirely on your installation environment and routing requirements.
The truth is simple:
-
Metal Junction Boxes: Ideal for architectural and commercial hardwired setups.
-
Desktop Enclosures: Perfect for plug-and-play applications and lab workstations.
-
Interchangeable Options: Helpful for flexible multi-region projects.
Best of all, quality manufacturers design these housings with advanced thermal fins to dissipate heat without relying on noisy cooling fans. You get a completely silent power conversion unit that operates efficiently even inside tight wall cavities.
Think about it:
-
Passive Cooling: No moving parts to break or create mechanical noise.
-
Compact Footprint: Fits easily into standard electrical cabinets or desks.
-
Anodized Aluminum: Resists corrosion while maximizing thermal transfer.
Key Takeaway: A manual dimmable power supply combines electrical safety, noise filtration, and responsive tactile control within a single dedicated system.
| Feature | Desktop Adapter | Hardwired Driver |
|---|---|---|
| Cooling | Passive Venting | Thermal Fins |
| Control | Direct Potentiometer | Remote Wall Dial |
| Usage | Plug-and-Play | Architectural |
This structural breakdown highlights how the physical design of the driver dictates its optimal placement and control mechanism in your layout.
Why Does Wattage Matter for a Rotary Dimmable LED Power Supply?
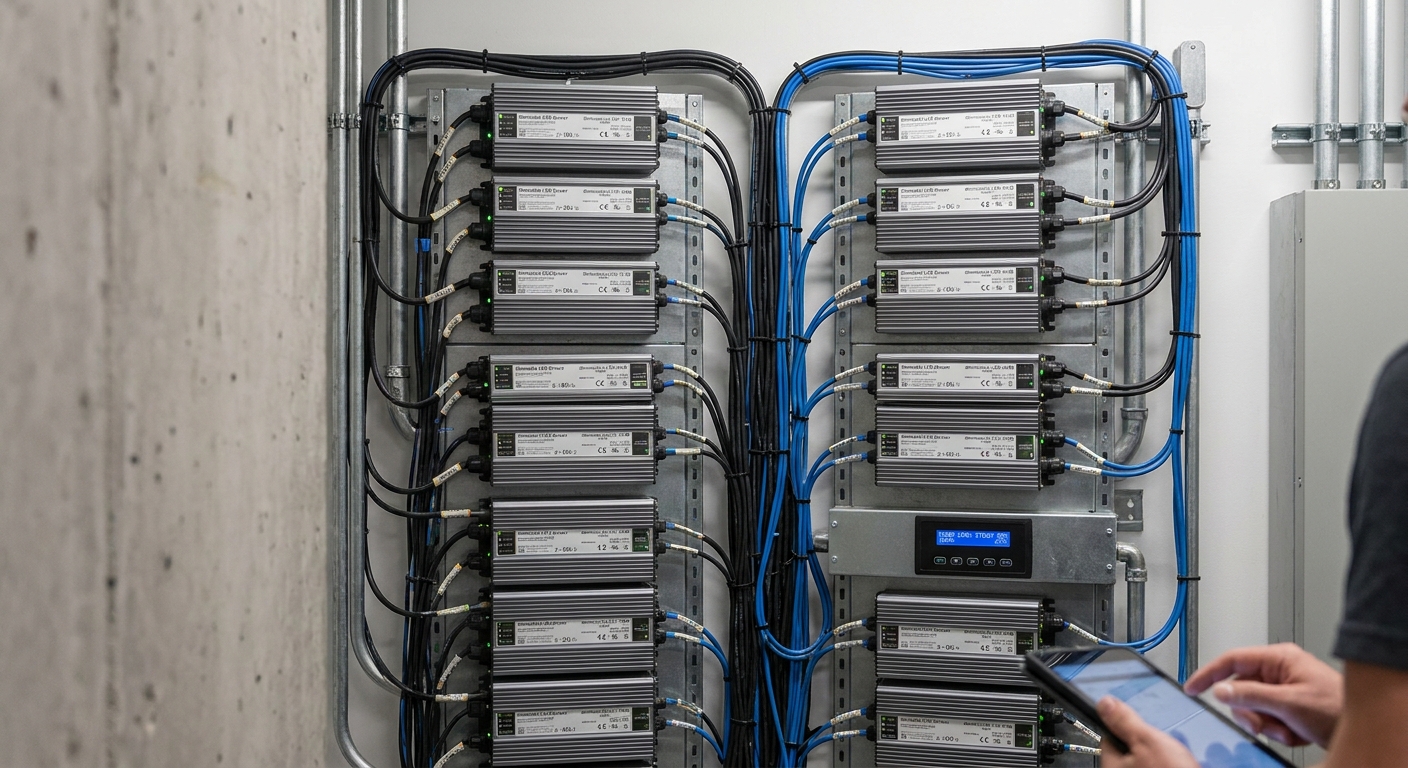
Correct wattage matching for a rotary dimmable LED power supply guarantees safe operation, prevents thermal overloads, and stops annoying acoustic buzzing during low-level dimming.
Running your rotary dimmable LED power supply beyond its rated capacity forces the internal components to run extremely hot, leading to immediate hardware failure. You will notice that overloaded units experience rapid voltage degradation and struggle to maintain consistent brightness. This excessive heat physically dries out the liquid electrolyte in the capacitors. It is the leading cause of early field failures in LED systems.
Conversely, a driver with excessive headroom can also cause dimming inconsistencies or struggle to turn on at low settings. You need to keep the total system load within a balanced range to ensure clean power delivery. This balances electrical efficiency with safe thermal performance. It ensures the manual dimming curve remains linear and predictable.
How does wattage affect thermal stress?
Here is the deal: when an electrical transformer operates near its limits, it generates high quantities of waste heat. You must manage this thermal output to prevent the driver from triggering its internal over-temperature protection circuit.
Look at it this way:
-
Thermal Runaway: High temps lower component resistance, causing even more heat.
-
Lifespan Halving: Every 10°C rise in temperature cuts capacitor life in half.
-
Safety Shutoffs: Automated circuits trip to prevent melting or fire hazards.
Why does this matter? Keeping your driver cool ensures that the output voltage remains perfectly steady, even when dimmed to 10% brightness. You will protect your investment in expensive LED strips by maintaining an optimal working environment.
Think about it:
-
Steady Voltage: Cool drivers prevent high-frequency current ripples.
-
Safe Operation: Reduces fire risks in wood or drywall cavities.
-
Component Integrity: Keeps the internal solder joints from cracking.
Can incorrect wattage cause buzzing?
Let’s get real: underloaded or overloaded transformers vibrate under the stress of high-frequency pulse-width modulation. You will hear an audible hum or high-pitched whistle that ruins the ambiance of any quiet room.
The truth is simple:
-
Coil Whine: Internal copper windings vibrate mechanically against each other.
-
Acoustic Resonance: The driver casing amplifies the micro-vibrations into human hearing.
-
Dimming Hum: Buzzing intensifies as you turn the knob to lower levels.
Best of all, matching your actual load to the sweet spot of the driver’s rated wattage dampens these mechanical harmonics. You will enjoy a completely silent, high-performance lighting setup that controls smoothly from zero to full output.
Here is the catch:
-
Harmonic Suppression: Balanced loads eliminate low-frequency acoustic vibrations.
-
Quiet Components: High-grade potting compound absorbs internal micro-movements.
-
Flawless Performance: Silent operation across the entire dimming range.
Key Takeaway: Proper wattage loading is the single most effective way to eliminate both thermal damage and irritating acoustic buzz from your dimming driver.
| Wattage Load State | Thermal Level | Audible Buzz Risk | Operational Lifespan |
|---|---|---|---|
| Overloaded (>100%) | Critical | Extremely High | Highly Reduced |
| Perfect (70% – 80%) | Low / Stable | None (Silent) | Maximum Lifespan |
| Underloaded (<20%) | Minimal | Low (Humming) | Normal Lifespan |
This operational overview demonstrates why target loading zones are crucial for securing long-term electrical safety and acoustic comfort.
How Do You Calculate the Right Rotary Dimmable LED Power Supply Wattage?

Calculating the correct rotary dimmable LED power supply wattage requires multiplying the total run length of your LED fixtures by their rated wattage per unit length and adding a mandatory safety buffer.
Finding the correct rotary dimmable LED power supply rating is straightforward when you follow standard electrical load equations. You simply sum up the maximum power draw of every connected light and adjust for continuous run tolerances. Doing this math before buying prevents purchasing errors and ensures your system runs safely. It acts as your primary defense against premature project failure.
Skipping this calculation often leads to undersized drivers that cannot handle the startup inrush current. You must account for all electrical variables, including wire run distances and LED strip density. Let’s make sure you have the exact formula to execute this calculation perfectly. This will save you time, money, and frustration.
What is the step-by-step formula?
Here is the deal: you must determine the absolute maximum power consumption of your LED strip lights by looking at their technical datasheet. You then multiply this per-foot or per-meter rating by the total length of your physical installation.
Think about it:
-
Unit Rating: Always check if the wattage is listed per foot or per meter.
-
Total Length: Measure the complete physical path of your connected tape light.
-
Raw Total: Calculate the basic total wattage consumed by the lights.
Look at it this way: if you have 15 feet of LED tape that draws 4 watts per foot, your raw requirement is exactly 60 watts. You cannot stop there, as running a driver at exactly 100% capacity will trigger early component wear.
Why does this matter?
-
Safety Headroom: Adding a buffer prevents continuous maximum-throttle operation.
-
Dynamic Load: Accounts for micro-spikes in power delivery.
-
Future Upgrades: Leaves slight room for adding small runs later.
Why must you round up?
The truth is simple: power supplies are only manufactured in standardized step increments, such as 30W, 60W, 100W, and 150W. You must always round your calculated total up to the next available standard wattage rating.
Let’s get real:
-
Standard Ratings: Common commercial intervals keep procurement costs low.
-
No Downsizing: Rounding down will immediately overload your driver.
-
Safe Choice: Rounding up ensures you never starve your LED chips.
Best of all, choosing a larger driver does not mean your lights will consume more electricity than they need. You only draw the specific wattage that your LED strips require, while the driver runs cooler and lasts much longer.
Here is the catch:
-
Load Matching: The driver only delivers what is actively requested.
-
Long-Term Savings: Less heat means you won’t replace failed units.
-
Enhanced Stability: Keeps the output voltage from dropping.
Key Takeaway: Calculating your required load and rounding up to a standard size guarantees that your dimming driver remains stable and runs cool.
| Run Length (ft) | Wattage Draw per Foot | Raw Total Load | Recommended Driver |
|---|---|---|---|
| 10 Feet | 3.0 Watts | 30 Watts | 60W Driver |
| 20 Feet | 4.5 Watts | 90 Watts | 120W Driver |
| 30 Feet | 2.0 Watts | 60 Watts | 100W Driver |
This calculation matrix shows how rounding up to standard manufacturing outputs preserves necessary headroom for daily operation.
What Safety Margin Should a Rotary Dimmable LED Power Supply Have?
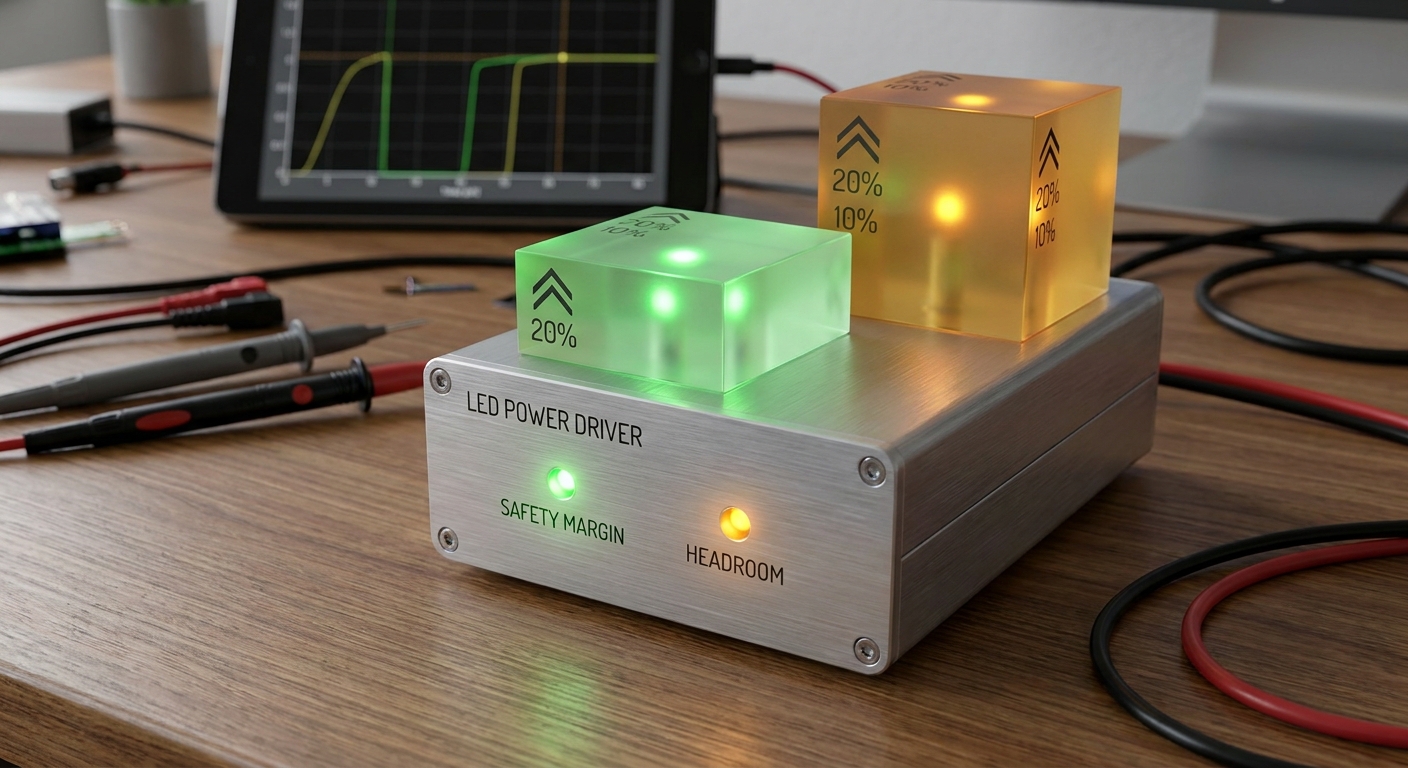
A rotary dimmable LED power supply must maintain a standard 20% safety margin, meaning the continuous load should never exceed 80% of the driver’s maximum rated wattage capacity.
Operating your rotary dimmable LED power supply under the 80% load rule prevents the internal electronics from undergoing excessive thermal expansion. You will safeguard your entire electrical setup against sudden utility power surges and grid variations. This buffer is standard across both domestic and commercial electrical codes. It acts as an indispensable shield for sensitive solid-state lighting.
When a driver runs without a safety margin, any minor voltage spike can trip its overcurrent protection. You will experience random blackouts and annoying restarts that disrupt your lighting control experience. Maintaining this 20% cushion keeps the output waveform clean and stable. This ensures smooth control when utilizing manual rotary dials.
Why is the 80% rule crucial?
Think about it. Continuous electrical loads generate a steady thermal build-up that must be steadily dissipated by the driver’s casing. You will dry out the internal capacitor gel if you push the unit to 100% capacity for hours on end.
Here is the deal:
-
Heat Dissipation: Keeps operating temperatures within the safe limit.
-
Grid Fluctuations: Absorbs minor commercial power drops easily.
-
Code Compliance: Aligns with standard NEC safety guidelines.
Look at it this way: leaving a 20% safety margin ensures that your driver handles ambient room temperature shifts effortlessly. You can confidently install your power units inside enclosed cabinets or drop ceilings without fear of overheating.
Why does this matter?
-
Enclosed Safety: Prevents heat trapping in unventilated areas.
-
Reduced Fire Hazard: Eliminates hot spots on the mounting surface.
-
Consistent Output: Ensures the LED colors don’t shift due to voltage droop.
How does inrush current affect it?
Let’s get real: when you first turn on your LED system, there is a massive millisecond-long spike in current called inrush current. You need an adequate safety margin to absorb this initial surge without damaging the driver’s power components.
The truth is simple:
-
Inrush Current: Can be up to ten times the normal operating current.
-
Breaker Tripping: Safety margins prevent random circuit breaker trips.
-
Contact Protection: Safeguards the physical switch contacts from arcing.
Best of all, a robust safety margin prevents this high-energy inrush spike from fatiguing your manual control dial over time. You will keep your rotary potentiometer switching smoothly for thousands of cycles.
Here is the catch:
-
Potentiometer Life: Less electrical stress means a longer switch life.
-
No Contact Fusing: Prevents the rotary dial from sticking in the “on” position.
-
Quiet Switching: Keeps the turn of the dial physically smooth and silent.
Key Takeaway: Adhering strictly to the 80% load rule preserves the lifespan of both your dimming driver and your manual control switch.
| Rated Driver Wattage | Safe Continuous Load (80%) | Example Strip Power Limit |
|---|---|---|
| 60 Watts | 48 Watts | Up to 45W |
| 100 Watts | 80 Watts | Up to 75W |
| 150 Watts | 120 Watts | Up to 115W |
This safety matrix illustrates how applying the 80% rule provides a secure buffer to absorb inrush currents and thermal peaks.
How Many Watts Does a Rotary Dimmable LED Power Supply Need for LED Strip Lights?
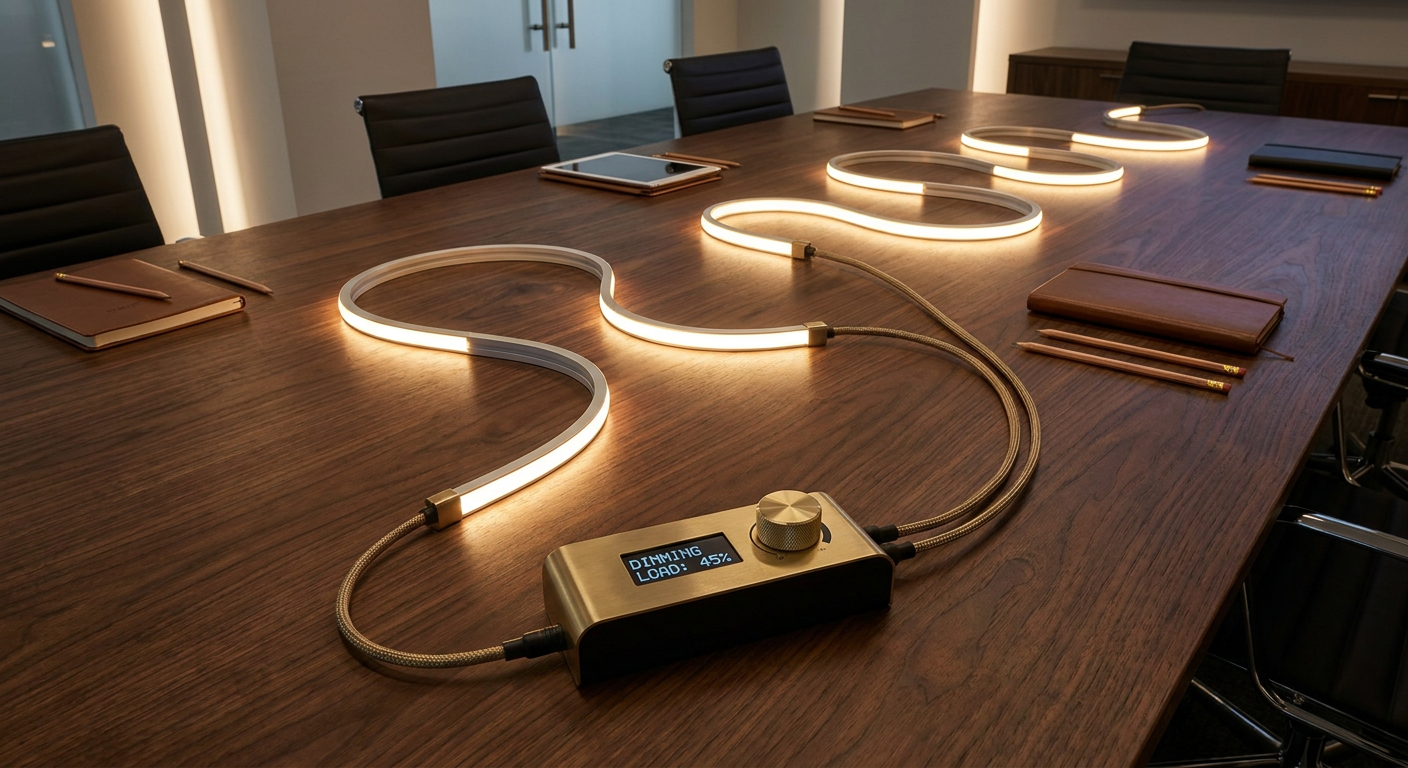
The specific wattage your rotary dimmable LED power supply needs for LED strip lights depends directly on the tape’s physical length and its internal diode density.
Selecting the ideal rotary dimmable LED power supply involves evaluating the physical density of the LEDs on your flexible circuit board. You will find that high-density tape lights require significantly more current than standard, decorative accent strips. Matching this load correctly keeps the LEDs operating at their intended brightness levels. It prevents the far end of your runs from appearing dim or discolored.
High-density and multi-row strip lights can quickly consume massive amounts of power over short distances. You must sum the total power draw of every connected segment to find your true driver requirement. Let’s examine how different LED strip architectures impact your power needs. This will help you make an accurate design choice.
Does LED density change power draw?
Think about it. Strips with 120 diodes per meter pull double the current of strips with only 60 diodes per meter. You must verify the manufacturer’s spec sheets to avoid underpowering your custom lighting project.
Here is the deal:
-
Low Density (3528): Draws less power, ideal for subtle accent lighting.
-
High Density (5050): Requires high-capacity drivers for intense task lighting.
-
COB (Chip-on-Board): Provides seamless light lines but demands high wattage.
Look at it this way: trying to run a high-density COB strip off a tiny driver will quickly trigger the unit’s automatic shutoff. You must size your driver based on actual lumen output and diode count to ensure consistent illumination.
Why does this matter?
-
Flicker Prevention: High density demands ultra-stable current delivery.
-
Even Illumination: Keeps every single diode glowing at the exact same intensity.
-
Thermal Balance: Prevents the strip itself from running dangerously hot.
How do you wire multi-run systems?
Let’s get real: when wiring multiple strips to a single central driver, you must run your lines in a parallel configuration. You will experience massive voltage drop and uneven brightness if you wire them in a single series loop.
The truth is simple:
-
Parallel Wiring: Delivers the exact same voltage to the start of each individual run.
-
Series Limits: Running too many strips in a line creates a high resistance path.
-
Current Summing: Add the wattages of all runs together to size the central driver.
Best of all, parallel wiring ensures that if one strip is damaged, the remaining runs continue to dim smoothly. You will create a highly resilient lighting array that is easy to troubleshoot and maintain.
Here is the catch:
-
Independent Runs: Easy isolation of wiring issues.
-
Consistent Dimmability: Balanced voltage guarantees uniform control transitions.
-
Long-Term Reliability: Reduces electrical wear on individual strip connections.
Key Takeaway: Diode density and your physical wiring configuration are the two primary factors that determine your total strip lighting wattage draw.
| LED Strip Type | Average Watts/Foot | Max Run Length (Single) | 15-Foot Total Load |
|---|---|---|---|
| Standard 3528 | 1.5W | 32 Feet | 22.5 Watts |
| High-Output 5050 | 4.4W | 16 Feet | 66.0 Watts |
| High-Density COB | 5.5W | 16 Feet | 82.5 Watts |
This architectural comparison demonstrates how physical diode design alters the total power requirements for a standard installation.
How Do Voltage and Current Affect a Rotary Dimmable LED Power Supply?

Voltage and current function as the core physical forces of a rotary dimmable LED power supply, working together to determine the total wattage capacity and the overall stability of the dimming circuit.
Understanding the mathematical relationship between volts, amps, and watts is vital when configuring your manual lighting control loop. You will find that running high-voltage systems reduces current demands, allowing you to use thinner hookup wires. This direct relationship is described by Ohm’s Law and governs all solid-state electronic devices. It is your guide to building an efficient, low-loss electrical layout.
Choosing between constant voltage and constant current topologies is the first decision you must make during product selection. You will permanently damage your lighting components if you connect a constant current strip to a constant voltage driver. Let’s break down these critical concepts so you can avoid costly wiring mistakes on your project. This will keep your system safe and reliable.
Is constant voltage better?
Think about it. Constant voltage drivers (typically 12V or 24V) are the industry standard for powering flexible LED tape lights. You can easily cut and splice these strips because the driver maintains a steady voltage while letting the current adjust dynamically.
Here is the deal:
-
12V DC Systems: Perfect for short, localized accent lights and automotive setups.
-
24V DC Systems: Recommended for longer runs because they reduce voltage drop.
-
Parallel Wiring: Essential for keeping constant voltage steady across all runs.
Look at it this way: constant current drivers are designed for high-power LED downlights and fixtures with dedicated on-board regulators. You must match the driver’s fixed milliamp rating to the exact requirements of your specific light fixtures.
Why does this matter?
-
Avoid Overdriving: Prevents LEDs from consuming too much current and burning out.
-
Thermal Stability: Current regulation stops thermal runaway in compact fixtures.
-
Series Connection: Constant current fixtures must be wired in a continuous loop.
How do you stop voltage drop?
Let’s get real: electricity loses pressure as it travels down long copper wires, a physical phenomenon known as voltage drop. You will notice that the far end of your LED strips appears dim or changes color if your wires are too thin.
The truth is simple:
-
Thicker Wire Gauge: Lower gauge wire (like 16AWG) reduces electrical resistance.
-
Higher System Voltage: Switching from 12V to 24V cuts current in half, reducing drop.
-
Shorter Run Distances: Keeping drivers close to the lights minimizes voltage loss.
Best of all, using a 24V system allows you to run your lighting twice as far as a 12V system before experiencing any visible dimming. You will achieve perfectly uniform brightness across your entire custom installation.
Here is the catch:
-
Lower Wire Cost: Thinner, cheaper wires can be used safely at 24V.
-
Even Brightness: Eliminates the dark spots at the end of long runs.
-
Better Dimming Control: Keeps the low-end dimming response perfectly stable.
Key Takeaway: Choosing a 24V system over a 12V system significantly reduces voltage drop and simplifies wiring over long distances.
| System Voltage | Max Recommended Run | Wire Gauge (AWG) | Voltage Drop Risk |
|---|---|---|---|
| 12V DC | 15 Feet | 18 AWG | High (Visible Dimming) |
| 24V DC | 30 Feet | 18 AWG | Low (Even Light Output) |
| 24V DC | 50 Feet | 16 AWG | Minimal (Professional Grade) |
This electrical comparison clearly demonstrates how increasing your system voltage preserves light quality and reduces wiring resistance.
What Happens If a Rotary Dimmable LED Power Supply Is Too Small?
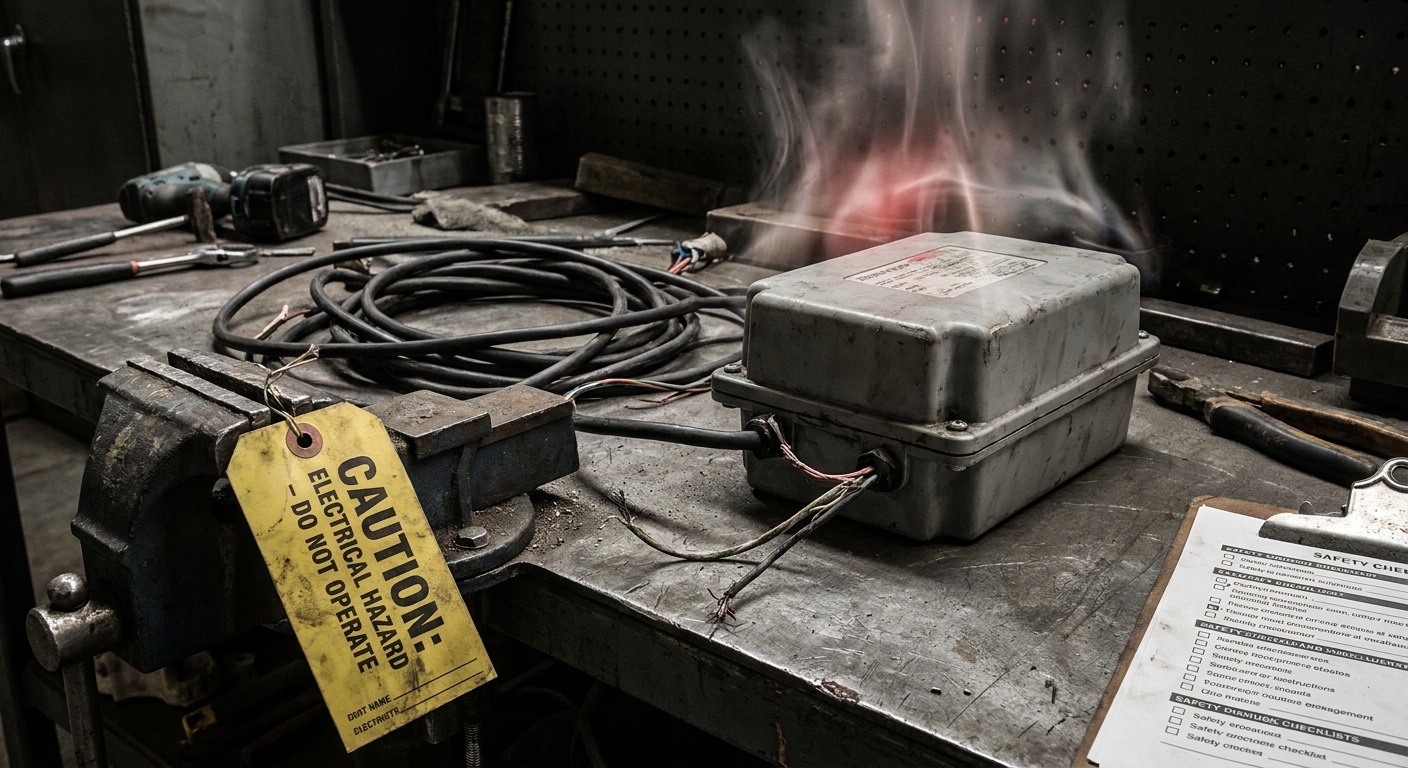
When a rotary dimmable LED power supply is too small for the connected load, it experiences extreme voltage drop, persistent flickering, and sudden thermal shutdowns.
Undersizing your rotary dimmable LED power supply causes the unit to run continuously at maximum load, accelerating the wear on its internal capacitors. You will see your light fixtures stutter, flicker, or fail to dim smoothly when the physical dial is rotated. This unstable power delivery can permanently damage the sensitive electronics inside your LED tape. It is a critical issue that must be addressed immediately.
In the worst cases, an overloaded power supply will overheat rapidly and trigger its automatic thermal safety shutoff. You will be left in the dark until the unit cools down and resets itself. Running a system in this continuous overload state is a serious safety hazard. Let’s analyze the exact warning signs so you can identify and fix an undersized driver before it fails.
Why do lights flicker?
Think about it. An undersized driver simply cannot maintain a constant voltage when the connected lights demand more power than the unit can produce. You will observe rapid, high-frequency pulsing that causes eye strain and ruins your room’s atmosphere.
Here is the deal:
-
Voltage Instability: The output voltage fluctuates rapidly under high load.
-
Low-End Dropouts: Lights cut out completely before reaching the lowest dimming level.
-
Control Stutter: The rotary dial feels unresponsive or causes sudden jumps in brightness.
Look at it this way: the driver’s internal PWM chip is struggling to regulate power because its input capacitors are constantly starved for energy. You will wear out these control circuits within a few months of daily operation if you do not upgrade.
Why does this matter?
-
Control Chip Failures: Unstable power burns out the sensitive dimming processor.
-
Shortened Diode Life: Rapid voltage spikes fatigue the LED chips.
-
Increased Maintenance: Forces you to spend time replacing failed components.
Is thermal shutdown dangerous?
Let’s get real: when a power supply’s internal temperature exceeds its safe operating limit, the thermal fuse trips to prevent a potential fire. You will experience sudden, unexpected blackouts that can be highly dangerous in commercial spaces or stairwells.
The truth is simple:
-
Automatic Thermal Tripping: Safety circuits cut power to prevent melting or fire.
-
Continuous Stress Cycles: Constant heating and cooling cracks circuit board solder.
-
Permanent Damage: Repeated thermal shutdowns eventually fry the driver completely.
Best of all, upgrading to a properly sized driver with a 20% safety margin eliminates this thermal stress entirely. You can run your lights for hours on end without ever worrying about a sudden blackout or hardware failure.
Here is the catch:
-
Cool Run Operation: Properly sized drivers remain warm, not hot, to the touch.
-
Reliable Performance: Zero unexpected shutdowns during continuous operation.
-
Peace of Mind: Meets all building codes and insurance requirements.
Key Takeaway: Undersizing your dimming driver leads to immediate flickering, control instability, and inevitable thermal failure.
| Overload Symptom | Immediate Cause | Long-term Result | Required Solution |
|---|---|---|---|
| Stuttering / Flickering | Voltage drops under load | Ruined LED strip diodes | Replace with larger driver |
| Sudden Shutoff | Thermal sensor triggered | Cracked solder joints | Reduce total strip length |
| Loud Humming Noise | Transformer coil vibration | Burned-out internal chip | Add 20% safety headroom |
This troubleshooting reference connects common physical symptoms to their underlying electrical overload causes and corrective actions.
How Can a Wattage Chart Help Select a Rotary Dimmable LED Power Supply?
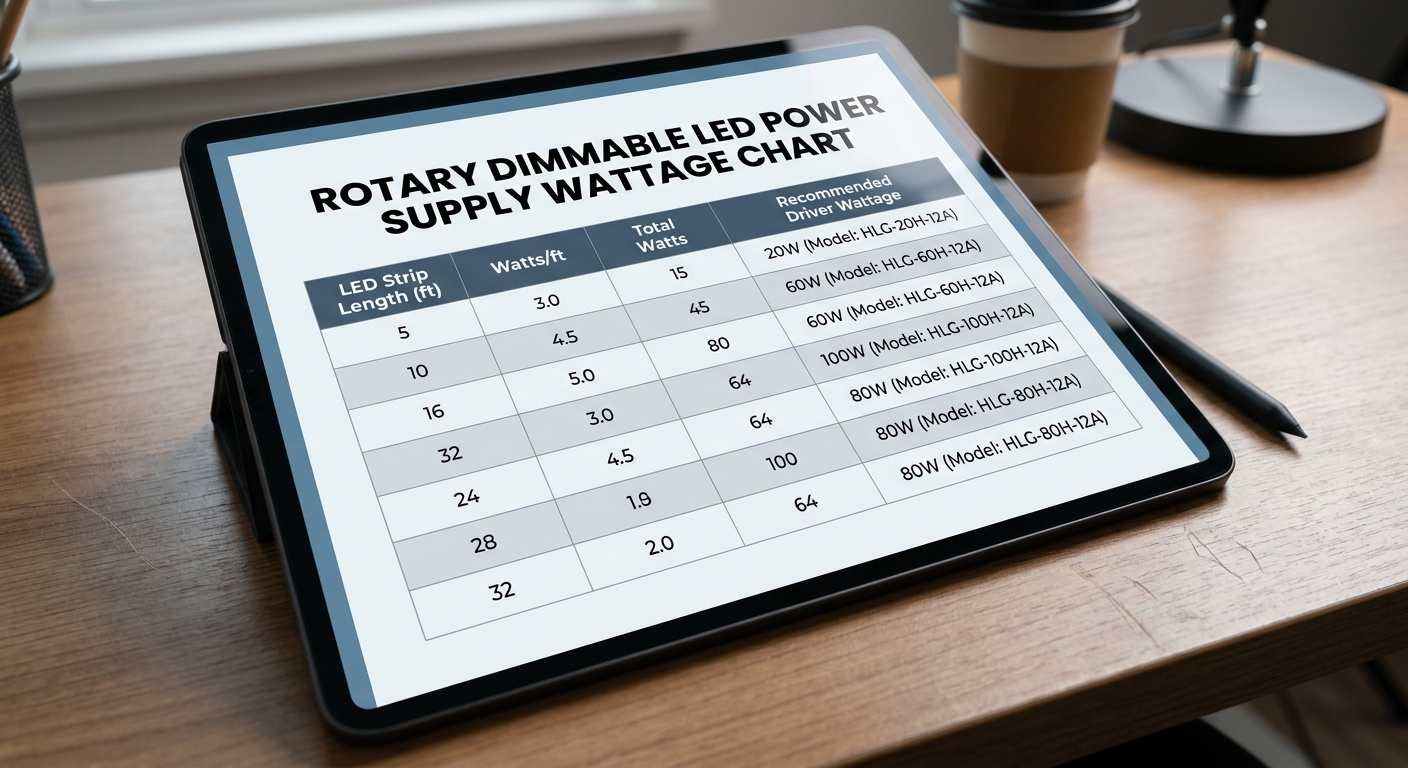
A wattage chart simplifies your selection process by providing a clear, pre-calculated visual map that matches your total lighting load directly to the perfect rotary dimmable LED power supply size.
Utilizing a professional wattage chart allows you to bypass complex mathematical formulas and quickly find the right driver capacity. You can easily select your hardware with complete confidence, knowing that the mandatory 20% safety margin is already calculated for you. This visual reference is an essential tool for project managers, electricians, and lighting designers. It streamlines your planning phase and ensures project safety.
By comparing your strip length and wattage draw against a verified reference chart, you eliminate the risk of human error during procurement. You will avoid the hassle of ordering incorrect components and facing project delays. Let’s explore how to read this chart efficiently so you can select your hardware in seconds. This will speed up your workflow and protect your budget.
Does a chart save time?
Think about it. Instead of sitting down with a calculator and counting watts per foot, you can simply scan down the length column to find your exact setup. You will get an instant hardware recommendation that is guaranteed to work.
Here is the deal:
-
Instant Matching: Finds your ideal driver size in under ten seconds.
-
Pre-Calculated Buffers: Ensures the 80% safety rule is automatically applied.
-
Reduced Friction: Speeds up the ordering process for busy contractors.
Look at it this way: having a standardized reference sheet means your entire installation team can make consistent, accurate buying decisions on the job site. You will eliminate communication breakdowns and ensure that everyone is installing the correct hardware.
Why does this matter?
-
Team Alignment: Every technician uses the exact same selection criteria.
-
Fewer Returns: Prevents ordering the wrong driver size by mistake.
-
Improved Efficiency: Keeps your installation moving forward without delay.
How do you read the chart?
Let’s get real: reading a master wattage chart is incredibly easy once you know your lighting strip’s power rating. You simply locate your total strip length, find the matching watts-per-foot column, and read across to find your recommended driver.
The truth is simple:
-
Identify Your Strip Spec: Locate the watts-per-foot rating on your product label.
-
Measure Total Run: Determine the exact length of the strip you are powering.
-
Locate Recommended Wattage: Read the chart to find the driver with the proper buffer.
Best of all, these charts show recommendations for both 12V and 24V systems side-by-side, allowing you to compare options instantly. You can easily determine which system configuration offers the best efficiency and wire sizing for your budget.
Here is the catch:
-
Voltage Comparison: Shows how voltage changes impact your driver choice.
-
Clear Current Limits: Displays output amperage alongside the wattage ratings.
-
Accurate Sizing: Prevents both underloading and overloading your system.
Key Takeaway: A master wattage chart is an indispensable cheat sheet that guarantees you select the perfect driver size with zero mathematical guesswork.
| Total Load (Watts) | Pre-Calculated Buffer | Recommended 12V Driver | Recommended 24V Driver |
|---|---|---|---|
| Up to 24W | 20% Included | 30W (2.5A) | 30W (1.25A) |
| 25W to 48W | 20% Included | 60W (5.0A) | 60W (2.5A) |
| 49W to 80W | 20% Included | 100W (8.3A) | 100W (4.16A) |
| 81W to 120W | 20% Included | 150W (12.5A) | 150W (6.25A) |
This quick-reference guide lets you instantly cross-reference your raw wattage load to locate the safest and most efficient driver size.
What Should Buyers Check Before Customizing a Rotary Dimmable LED Power Supply?
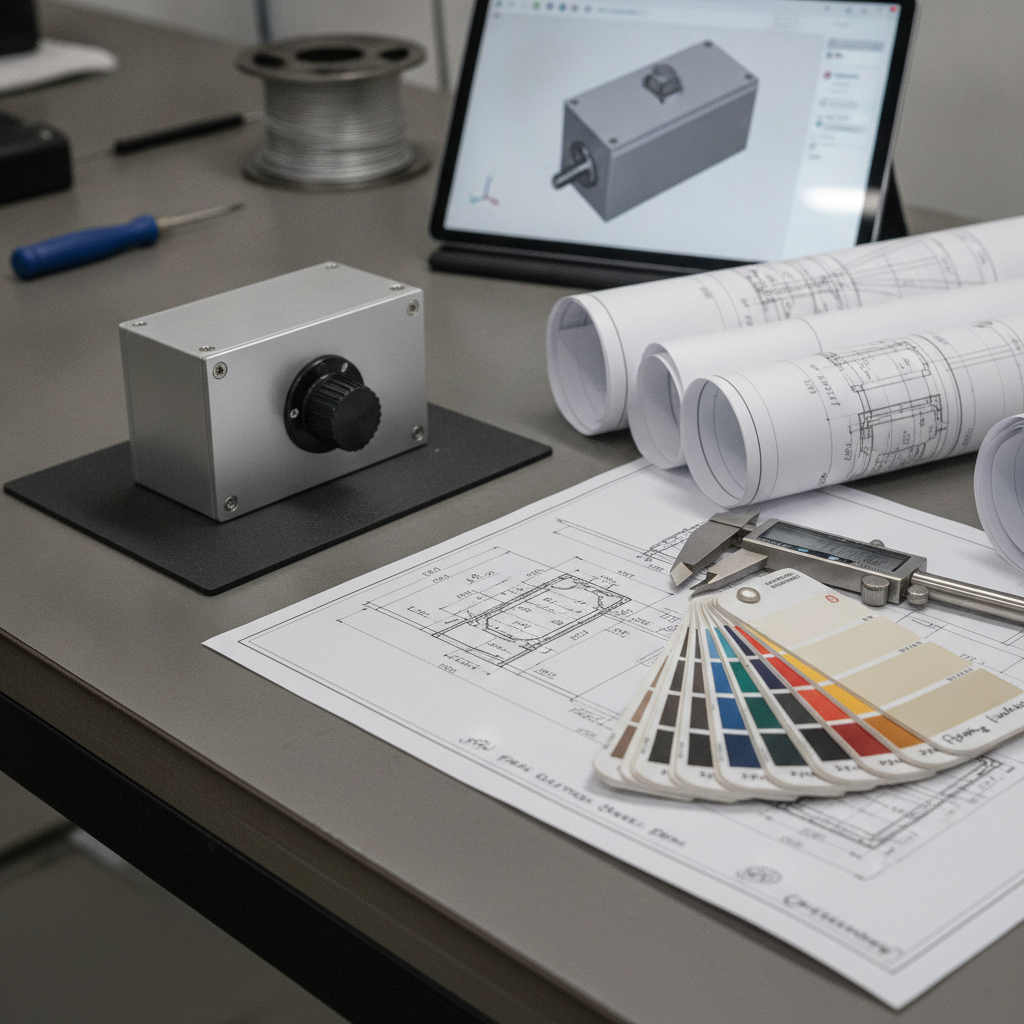
Before ordering a customized rotary dimmable LED power supply, buyers must verify international safety certifications, input voltage compatibility, and the physical dimming curve of the potentiometer.
Specifying a customized rotary dimmable LED power supply is highly effective for unique commercial, industrial, or smart home projects. You must ensure that your custom specifications align perfectly with your local electrical codes and performance requirements. Missing a single technical detail during the design phase can lead to costly field failures. It is your responsibility to review these parameters carefully.
Working with a certified manufacturer allows you to tailor everything from the housing materials to the internal protection circuits. You can request specific safety marks, unique output current limits, and waterproof ratings to fit your environment. Let’s outline the essential checklists you must complete before submitting your design to the factory. This guarantees that your custom order arrives ready for installation.
Why are certifications vital?
Think about it. Uncertified power supplies will fail local building inspections, void your property insurance, and pose serious shock or fire hazards. You must demand recognized safety marks like UL, ETL, CE, or FCC on every custom unit.
Here is the deal:
-
UL Listed / ETL Listed: Confirms the driver meets rigorous North American safety standards.
-
CE / UKCA Marks: Essential for compliance in European and UK markets.
-
FCC / EMC Compliance: Guarantees the unit does not emit disruptive radio interference.
Look at it this way: buying certified hardware protects your brand’s reputation and ensures the safety of your end-users. You will avoid legal liabilities and local regulatory fines by choosing a fully compliant manufacturing partner.
Why does this matter?
-
Liability Protection: Shield your business from electrical safety lawsuits.
-
Seamless Inspections: Pass all commercial building code reviews with ease.
-
Customer Trust: Reassure clients that their custom system is safe and reliable.
How do you choose the dimming curve?
Let’s get real: the human eye does not perceive changes in light brightness in a linear fashion. You must choose between a linear and a logarithmic dimming curve to ensure that the physical turn of your rotary dial feels natural.
The truth is simple:
-
Logarithmic Curve: Matches human visual perception for smooth, natural dimming.
-
Linear Curve: Best for technical applications, lab testing, and precise measurement.
-
PWM Duty Cycle: Determines how low the brightness can go without flickering.
Best of all, a high-quality logarithmic rotary controller provides fine-tuned control over the lower end of the dimming range, where brightness shifts are most noticeable. You will achieve a highly premium user experience that feels intuitive and satisfying to operate.
Here is the catch:
-
Natural Transition: Eliminates sudden jumps or dead zones in the control dial.
-
Low-Level Control: Allows for micro-adjustments in cozy, low-light environments.
-
No Sudden Dropouts: Keeps the light steady even at 1% brightness.
Key Takeaway: Verifying compliance certifications and selecting a logarithmic dimming curve are critical steps to ensuring your custom driver performs safely and controls smoothly.
| Custom Parameter | Standard Options | Why It Matters |
|---|---|---|
| Safety Markings | UL, ETL, CE, GS, PSE | Legal installation and insurance compliance |
| Dimming Curve | Logarithmic / Linear | Natural brightness perception during rotation |
| Ingress Protection | IP20 (Indoor) / IP67 (Outdoor) | Resistance to dust and moisture exposure |
This customization checklist highlights the most critical specifications you must communicate to your manufacturing partner before production begins.
How Can Manufacturers Provide a Reliable Rotary Dimmable LED Power Supply?

Manufacturers can deliver a reliable rotary dimmable LED power supply by sourcing tier-one internal capacitors, implementing robust thermal design layouts, and conducting rigorous factory burn-in testing.
Quality control at the factory level is the single most important factor in preventing early field failures and customer callbacks. You should partner with manufacturers who utilize premium Japanese capacitors and high-grade copper windings. These superior materials withstand extreme operating temperatures far better than cheap generic alternatives. This attention to detail sets leading B2B suppliers apart from discount factories.
A well-designed driver should feature built-in protections against over-voltage, over-current, short circuits, and thermal runaway. You will secure a highly durable product that keeps your installations running smoothly for years. Let’s look at the standard testing protocols that guarantee maximum reliability for your high-power projects. This will help you select a manufacturing partner you can trust.
Why are internal components key?
Think about it. The lifespans of your dimming drivers are directly limited by the quality of their internal capacitors and magnetic transformers. You will face high failure rates if your manufacturer cuts corners on these critical components.
Here is the deal:
-
Japanese Capacitors: Rated for 105°C and offer double the operating life.
-
Pure Copper Coils: Ensure maximum efficiency and reduce internal heat generation.
-
FR-4 Circuit Boards: Resist cracking and warping under high thermal stress.
Look at it this way: high-grade internal components keep the output voltage ripple-free, protecting the sensitive LEDs down the line. You will enjoy flawless performance and a significantly longer system lifespan by investing in quality from the start.
Why does this matter?
-
Voltage Ripple Protection: Keeps the electrical signal clean and stable.
-
Reduced Solder Wear: High-quality boards resist thermal expansion stress.
-
Maximum Efficiency: Reduces waste heat, lowering your overall cooling needs.
What is the factory burn-in test?
Let’s get real: running every manufactured power supply under full electrical load for several hours is the only way to detect early component defects before shipping. You must demand verification of these factory testing processes to ensure zero-defect delivery.
The truth is simple:
-
Full-Load Burn-In: Screens out components prone to infant mortality failures.
-
Automated Testing: Computer-controlled testing ensures objective, repeatable results.
-
Quality Logs: Serial-tracked data sheets verify individual driver performance.
Best of all, thorough factory testing ensures that only perfectly functional, whisper-quiet hardware ever arrives at your job site. You can complete your high-end architectural and retail lighting projects with complete peace of mind.
Here is the catch:
-
Zero Field Failures: Eliminates expensive labor costs for replacing bad units.
-
Consistent Operation: Keeps every single batch performing to the exact same standard.
-
Enhanced Reputation: Builds trust with your clients by delivering flawless results.
Key Takeaway: Sourcing premium internal components and requiring full-load factory burn-in testing are the hallmarks of a truly reliable power supply manufacturer.
| Testing Stage | Purpose | Duration | Quality Goal |
|---|---|---|---|
| Full-Load Burn-In | Heat-stress components to catch early failures | 4 to 8 Hours | Zero Infant Mortality |
| Dimming Cycle Test | Verify PWM controller response and smoothness | 500+ Cycles | Flicker-Free Rotary Response |
| Hi-Pot Isolation Test | Verify high-voltage safety and shock insulation | 1 Minute | Complete Operator Safety |
This quality control matrix highlights the rigorous factory testing stages required to produce highly reliable, commercial-grade dimming drivers.
Conclusion
Sizing your manual dimmer systems doesn’t have to be a guessing game of thermal risk and physical eye strain. By matching your custom load demands to a verified wattage chart and implementing the 80% safety headroom rule, you secure a stable, silent, and visually stunning lighting system.
At Merryking Power, we specialize in manufacturing certified, highly reliable power adapters designed to bring ultimate durability to your OEM/ODM projects. Let us handle your engineering bottlenecks with custom-tailored protection circuits and precision dimming controllers. To secure bulk pricing, verify specifications, or customize your driver setups, contact us today and let our expert team design your ideal power solution.
Frequently Asked Questions
Can I run my LED strip at exactly 100% of the power supply’s rated wattage?
No, you should never load a power supply to its absolute maximum limit for continuous use. Always apply a 20% safety margin (the 80% load rule) to absorb transient startup inrush currents and prevent the internal components from overheating.
What is the best way to stop my rotary power supply from humming?
Yes, you can easily stop the humming by replacing your current driver with a higher-rated wattage power supply that keeps your active load below 80% of capacity. This dampens the harmonic vibrations inside the transformer coil and results in completely silent dimming.
How do I know if I need a 12V or a 24V rotary dimmable driver?
Yes, you should check the input voltage printed directly onto your flexible LED tape light. Your power supply’s output voltage must match this exact rating (typically 12V or 24V) to avoid instantly destroying the LEDs or running them dangerously dim.
Can I connect multiple rotary dimmers to a single power supply?
No, standard dimmable systems require a single designated manual potentiometer per power supply. Connecting multiple manual knobs in series or parallel will disrupt the feedback loops, causing rapid flickering and unstable control.
How do I choose between linear and logarithmic rotary curves?
Yes, you should choose a logarithmic curve because human visual perception of brightness changes is non-linear. A logarithmic rotary potentiometer ensures that the manual dial feels smooth and natural across the entire physical rotation range.